Fire is as equally important for survival, manliness, and partying. Therefore there will be more than a few posts about fire on this blog. I thought a great start would be the relatively easy task of creating a Rocket stove.
Why a rocket stove:
- More or less free to build
- Works great for food prep and boiling water to sanitization
- MacGyver looks and wow factor for small effort
If you have kids, this is a great project to do with them. Construction only takes about 5-10 minutes and the fire is impressive.
What is a rocket stove?
A rocket stove is a simple cooking platform that houses the fire and holds the pot or canteen that you are going to heat. It requires very little fuel to generate a good amount of heat. The secret is the great chimney effect that it creates. They are light, portable, and since it uses sticks etc… for fuel, you don’t have to carry your fuel when in the field.
LOGISTICS
Supplies:
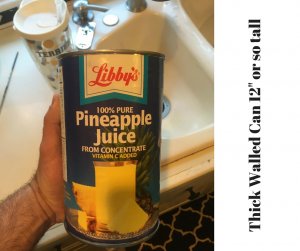
- Large Thicker Can. I like the ones that hold Pineapple Juice. The old Hawaiian Punch style can. Large green bean cans could work as well. You just want a can that is taller than it is wide and is no too wide for your pots / canteens (More on that later).
- Your big knife to make the cuts
- Multi-Tool or pliers
- Small sticks and some kind of tinder
- Metal Canteen or pot for water boiling test
- Matches, lighter, or ferrus rod
Area:
- Clear area safe for fire
Standard:
- Complete the stove construction
- Ignite Fire
- Cook Long enough to boil small batch of water
CONSTRUCTION:
- Remove label (if any) from the outside of the can
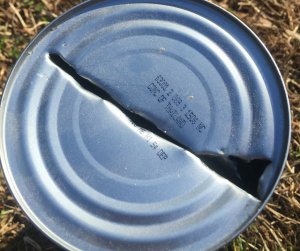
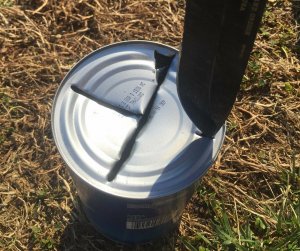
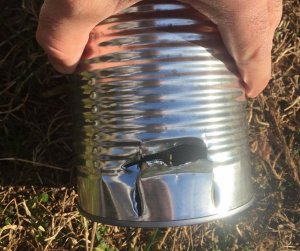
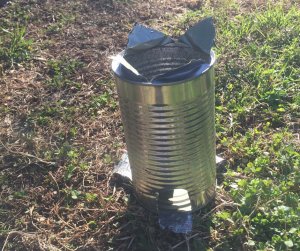
- With your large knife cut an “X” across the top of the can all with edges of cut going all the way to the corners. Use pliers to pull the triangles up and bend them until the points are at least as far as the sides of the can. This will be the platford you put your pot or canteen on. See Pics at bottom of page
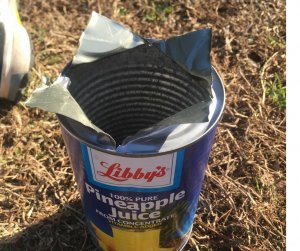
- Starting on the bottom outside edge just above the lip, cut a one inch square in the side. Do not cut the bottom edge as you will bend these out. The holes are for ventilation and the bent out section help stabilize the See pics at bottom of page.
THE BURN:
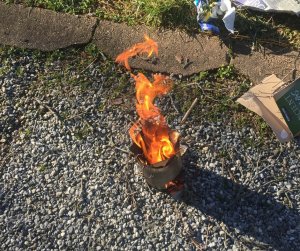
Use small sticks no taller than the can. I put some paper in the bottom and then lots of very small sticks (Matchstick sized). Finally I finish with some sticks about as thick as my fingers and a little shorter than the height of the can. Light the paper and the rest should take care of itself.
NOTE #1:
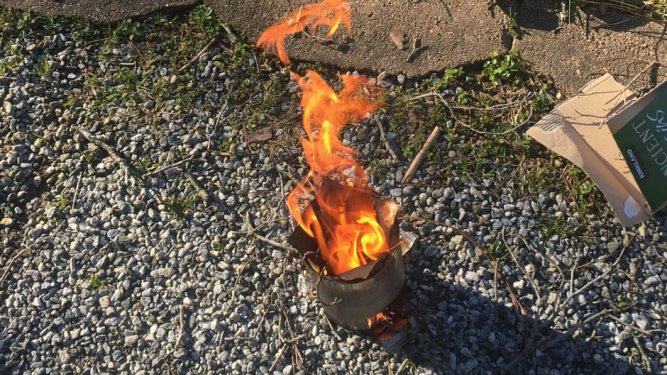
As soon as this fire gets rolling, the chimney effect kicks in and it gets very hot very fast. Flames can also come a good 12 inches out of the can. Equal parts awesome and dangerous, so be prepared.
NOTE #2:
Many of these cans have a chemical lining in them. On your first burn, don’t do any food or water you will actually use. Also, no huffing. Let it burn wide open for a few minutes and it will burn all that off and you will be good going forward.
I was able to boil water with mine in about 5 minutes. It burns so fast you may have to remove your pot or canteen and restock the fire and put back on. Your multi-tool is well suited for this. Your bare hand, not so much.
If I were carrying one into the field, I would fold the cut out areas back in and pack. I would use an old T-shirt as a wrap so the sharp edges don’t cut my pack or any gear. You could pack the inside of the can as well with tinder, food, etc… so you aren’t wasting the space.
Get out there, have some fun. Burn some stuff.
LT Dan